DIY GRAPHICS
Making a Dog Photo into an SVG file for Cricut
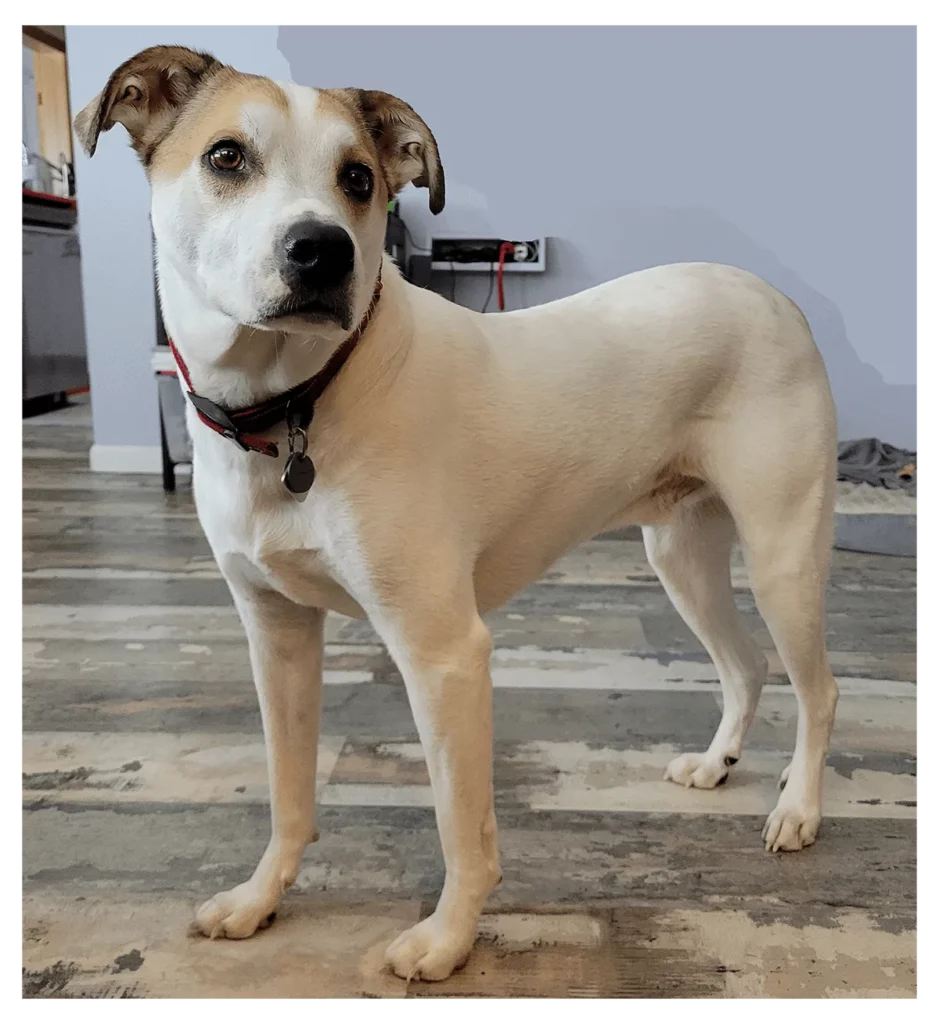
Start with a Photograph
You can use your phone. Then get the image into Photoshop.
This is not a tutorial. Instead, what I’m showing you is what is possible and not complicated. When I do cartoon portraits of people? That’s complicated, and uses advanced Adobe skills.
Making an svg file for Cricut using a photo of your pet? You can probably do this. Here are the necessary Adobe Photoshop skills: selecting parts of an image to make layers, applying color overlay to layers, and cutting out a few lines strategically (using select and delete). Necessary Adobe Illustrator skills: image trace, smooth tool, select tool, export. That’s it.
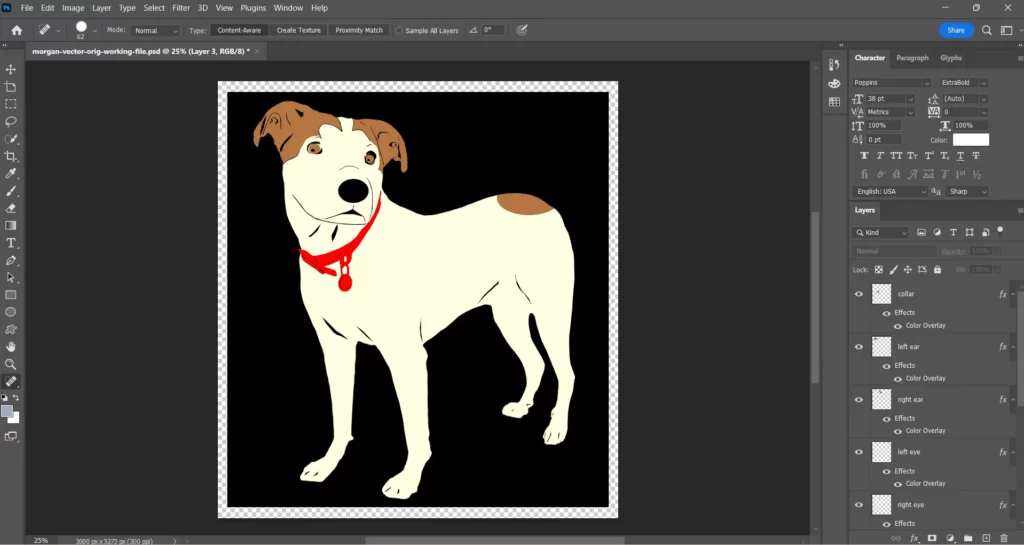
Separate by Layers in PS then “color overlay”
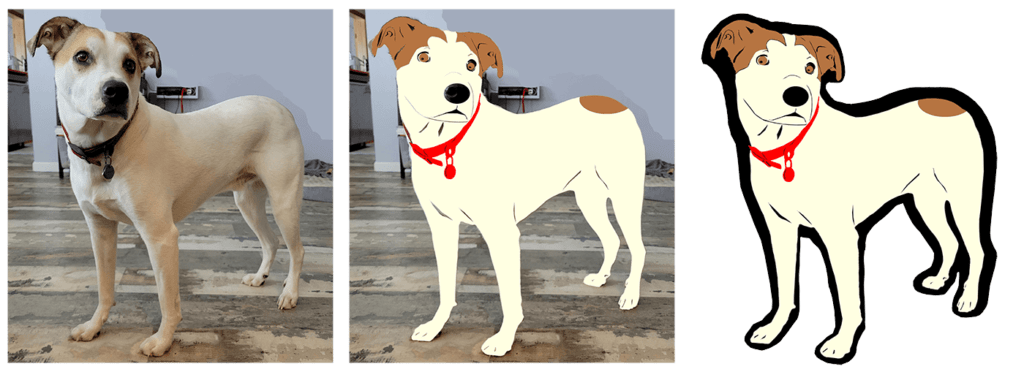
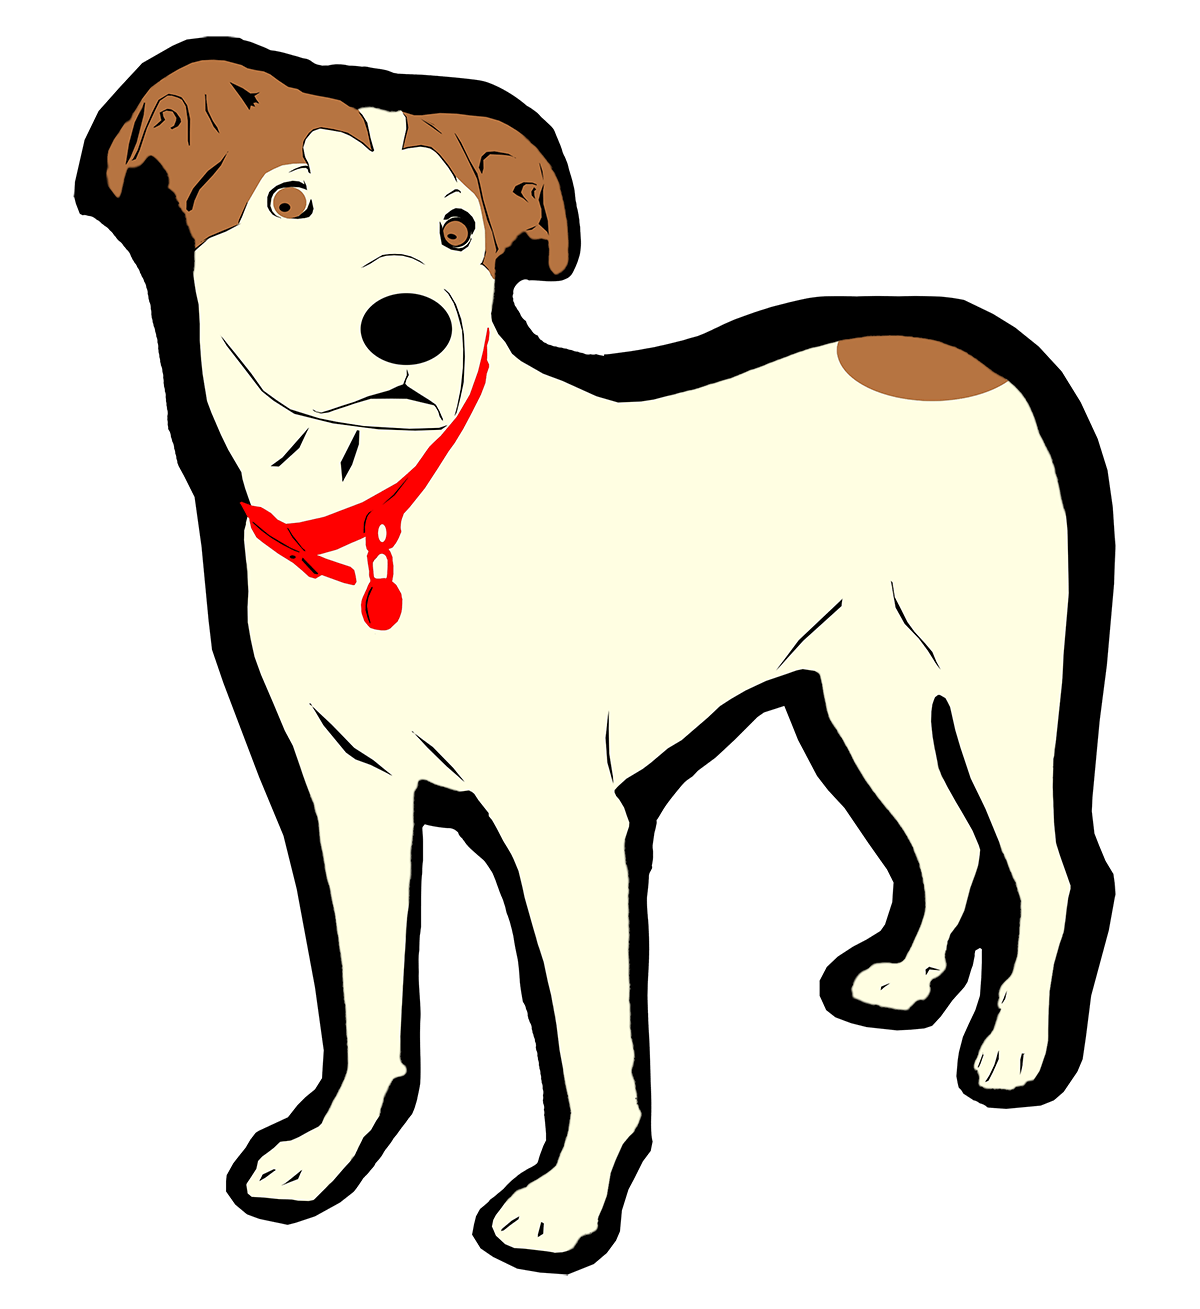
This is the End Result
In Photoshop, remove background and select subject. Then, select key parts of the subject to make different layers for colors. In this example, I had layers for eyes, ears, collar, bum spot, main body, and black underlayer.
I recommend the black underlayer because then you can use cuts in the top layers to reveal the black, and use this to “draw lines” in your vinyl, which is a nice effect.
Once you like the look in Photoshop, you can vectorize in Illustrator and then upload to Cricut Design Space. Or, since this is a simple graphic, you can export each whole color as a PNG file from Photoshop (skipping Illustrator).
In Cricut Design Space, upload the four PNG files, place them on top of each other, press [ctrl]+[left] click and group them, so that you can resize and position them as one collective graphic.
“Prepare 4 mats” in Cricut Design Space…
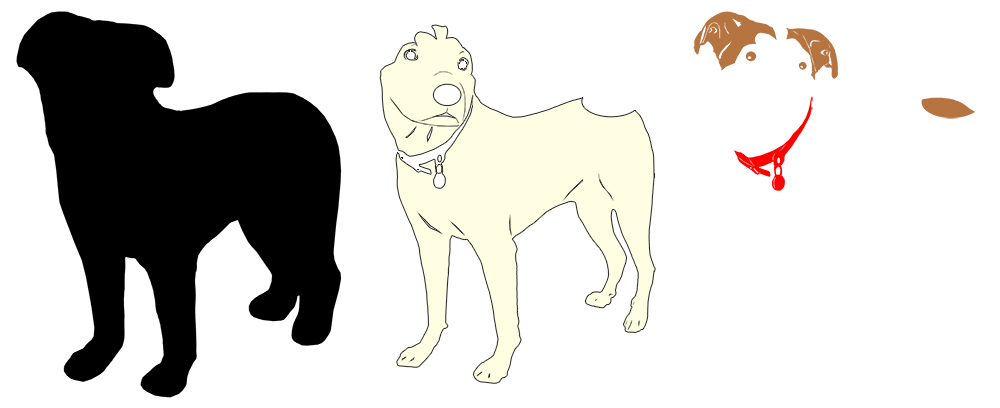
This was a fun little graphics project, and I’m really glad to have a cut file for Morgan the Dog ready to be added to our Cricut Design Space projects.
What are you making with your Cricut?
